




Quick Answer
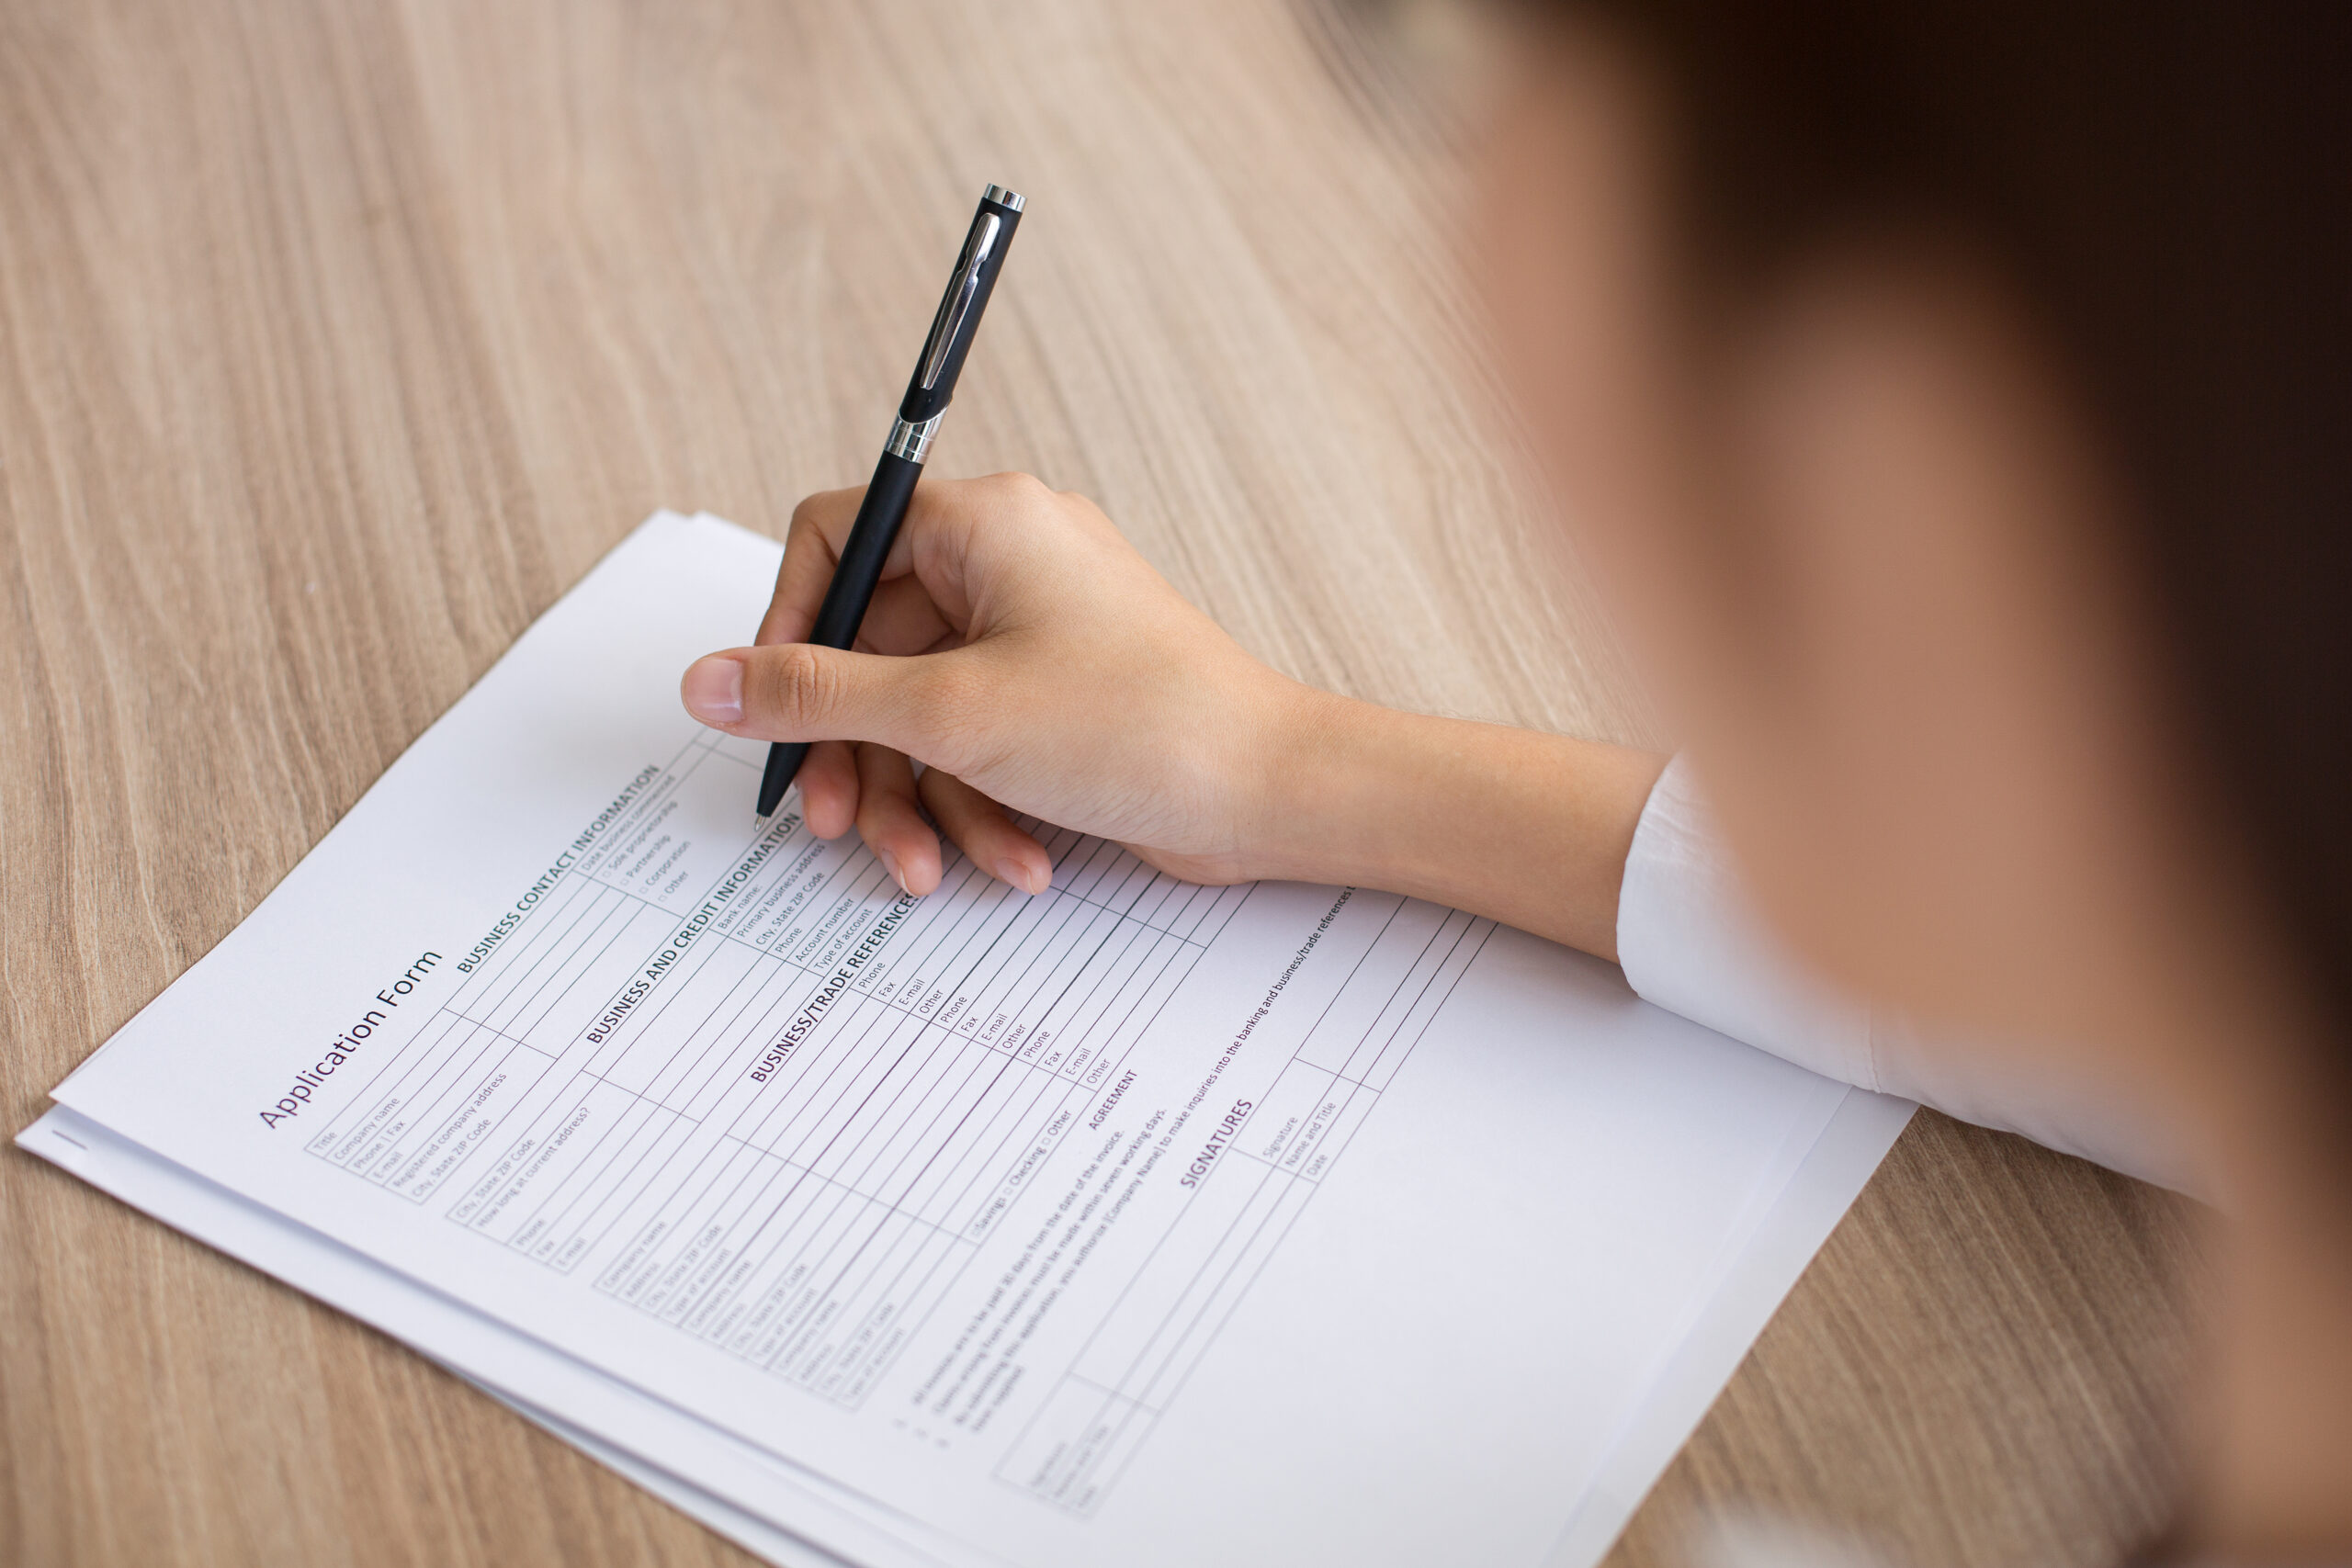
The DS-160 (Online Nonimmigrant Visa Application) is a mandatory electronic form required for all non-immigrant US visas, including the F-1 student visa and K (fiance) visas. It’s free to submit, collects personal, travel, and background information. A partially completed application stays accessible on the CEAC system for 30 days from when you started it – after that, you’d need a locally saved copy to continue, or you’ll need to start over. After submission, print the confirmation page and bring it to your visa interview.
If you’re applying for a temporary visa to live, work, or study in the USA, you’ll have come across the DS-160 form. It was introduced to replace the DS-156, 157, 158, and 3032 forms, which are no longer valid.
In this article, we’ll cover everything you need to know about the DS-160 form, beginning with what it is.
What is the DS-160 Form?
The DS-160’s official name is the ‘Online Nonimmigrant Visa Application’ – ‘DS’ is the standard prefix used across US Department of State forms, with 160 as this specific form’s number. It’s a vital part of the visa process for international students. Visa applicants must submit a completed DS-160 for all nonimmigrant visa categories, including F-1 students – this is a firm requirement, not something an individual applicant can request a waiver for, per the Department of State’s own guidance.
The US government calls it the ‘Online Nonimmigrant Visa Application’, and it can only be submitted electronically to the U.S. Department of State.
The DS-160 form collects a wide range of data, including:
– Your personal demographic details
– Your travel plans
– Your background information
– Your previous USA travel history
– Your family background
– Security-related questions
If you look at a sample DS-160 form for an F-1 visa, you’ll notice a section to enter your prospective ‘educational institution’. Enter this accurately and consistently with the institution listed on your Form I-20 – a mismatch can raise questions or cause delays during processing, so double-check this field carefully.
The form must be filled out using a compatible web browser, such as Microsoft Edge, Firefox, or Google Chrome – the Department of State’s site notes it’s designed to be accessed using these browsers only.
After completing your DS-160 form, print the confirmation page and bring it to your visa appointment, usually held at a US Embassy or Consulate – the Department of State’s own guidance says you should bring this page to your interview. The information you provide is used by consular officers to assess your eligibility, alongside your personal interview.
If you’re not confident filling it out, look at a couple of DS-160 form samples online first. On timing: you can return to a partially completed application on the CEAC system for 30 days from when you started it. After that window, you’d need to have saved a local copy to your computer to continue, or you’ll need to start over. If there’s a significant gap between submitting your DS-160 and your actual interview date, check directly with your specific consulate on whether you need to resubmit with updated information.
In the next section, we’ll cover why this form matters so much to visa applications.
Why is the DS-160 Form Important?
The DS-160 form is a genuinely important part of applying for an F-1 visa to study in the United States. Here’s why it matters:
– It’s essentially a detailed interview on paper – the US government needs to know who you are, why you want to study there, and whether you plan to return home after your studies. The DS-160 covers all of this in one place.
– It helps visa officers do their job more efficiently – with your DS-160 already on file, they can focus the in-person interview on the most important parts of your application rather than re-collecting basic information.
– It supports a genuine security and screening purpose – the US wants confidence that people coming to study are there to learn, and the DS-160 is part of how that’s assessed.
– It applies consistently to every applicant – whether you’re from a big city or a small town, everyone completes the same standardized form.
– It gives you a structured opportunity to organize your own thinking – filling it out carefully can genuinely help you walk into your visa interview feeling more prepared.
In short, the DS-160 form is a foundational part of your visa application. It’s a fair amount of work, but it’s there to make the overall process more consistent and predictable for everyone involved.
Also Read: New F1 Visa Rules for USA: All You Need To Know
How Can I Get a Copy of Form DS-160?
You cannot obtain a blank copy of the DS-160 form, either online or offline, before you start it. Once submitted, you can print the confirmation/submission page to bring to your visa appointment.
The form generally isn’t available for download in a blank, fillable format. To start the DS-160 process, applicants must visit the Consular Electronic Application Center (CEAC) website and begin a new application there directly – there’s no separate printable blank version.
That said, sample DS-160 forms (for B-1, B-2, and F-1 visas) are available from various university international-student offices online, walking through the process from opening the CEAC website to printing the confirmation page – useful for previewing what to expect before you start your actual application.
With that covered, let’s look at the documents you’ll need to complete the DS-160 form.
What Documents Do You Need to Complete Form DS-160?
– Passport – valid for at least six months beyond your intended period of stay, unless a country-specific exemption applies. If it isn’t, you generally won’t be able to proceed.
– Travel Itinerary – relevant mainly if you’re on a temporary visit visa with existing travel plans. F-1 students typically won’t have finalized flight bookings at this stage, so this applies less directly to student applicants.
– Education and Work History – you may need to provide details of your education and work background, sometimes including a resume or CV. Exact document requirements can vary by visa category and consulate, so check current instructions for your specific application.
– SEVIS ID: required for F-1, J-class, and M-class visa applicants. F-1 and M-1 students will find this on their I-20; J-1 exchange visitors will find it on their DS-2019.
– Proposed Educational Details – if applying for a J-class or F-class visa, you’ll also need to provide details of your chosen education program, including its intended duration.
– Approved Petition Information – if you’re a petition-based temporary worker (common examples include H-1B, H-2, H-3, E, L, O, P, and R – this isn’t an exhaustive list), you’ll need your employer’s approved petition details (Form I-129, filed by your employer with USCIS, and the resulting receipt/approval notice).
Depending on your specific situation, you may also need to provide additional details:
– Employer Information – if you’re going to the USA to work, you’ll need your employer’s details, including their TIN, office location, business activity, and your specific role.
– USA Travel History – the form may ask for your last five visits or trips to the USA, if you’ve previously traveled there.
– International Travel History – the Department of State may also ask you to list your broader international travel history, generally for a five-year period.
– Social Security Number – if you were a former US citizen, you’ll need to provide your SSN with your DS-160 form.
Note: enter your SEVIS-related and educational details accurately and consistently with your I-20. Inconsistencies between your DS-160 and I-20 can raise questions or cause delays during processing.
Also Read: Student Visa for USA for Indian Students in 2026 (Guide)
Who Needs the DS-160 Form?
In most cases, the following applicants need to complete the DS-160 form for their visa applications to be processed:
– Tourists and Visitors – individuals travelling to the USA for tourism or to visit friends and family.
– Business Travelers – those attending business meetings, conferences, or other professional events in the USA.
– Students – individuals seeking to study in the USA on an F or M type visa.
– Petition-Based Temporary Workers – individuals seeking to work under temporary worker visa categories like H-1B, H-2, L, O, P, and R, who need an approved employer petition before applying.
– Fiance(e) Visa Applicants – those applying for a K visa to bring a fiance(e) to the USA.
This list isn’t exhaustive, but it covers most regular applicants. In our last section, we’ll walk through how to actually fill out the DS-160 form, start to finish.
Also Read: Requirements for F1 USA Study Visa: A Complete Guide
How to Fill Out the DS-160 Form
|
Step |
Action |
|---|---|
|
1 |
Start a new application, select your location, and note the Application ID you’re issued. Choose and answer a security question, which lets you return to a saved application later. |
|
2 |
Fill out your name, birth details, and nationality. Answer all yes/no questions. |
|
3 |
Provide your travel plans and intended US travel information as requested by the form, answering accurately based on your actual, current circumstances rather than guessing. |
|
4 |
Enter your current address, phone number, and requested social media handles. |
|
5 |
Input your passport details and your US point of contact (e.g., a school official for students). |
|
6 |
Provide your parents’ information and your current work/education status. |
|
7 |
Answer all background questions honestly, including any visa history. |
|
8 |
If applicable, enter your SEVIS ID and school details from your I-20 form, including program name and institute name. |
|
9 |
Submit your prepared digital photo and confirm it meets quality standards. |
|
10 |
Save your confirmation page along with your application ID for your records. |
And that’s everything you need to know about the DS-160 USA visa form.
We understand that filling out the DS-160 form can be genuinely challenging for students with no prior experience – like much of the study-abroad process, it helps to have guidance at every stage.
That’s where GradRight’s university search platform comes in. It doesn’t just help you find the best-fit university based on ROI – it also provides continuous support throughout your journey, including community access and expert advice at any stage, free of cost.
– Create Your Profile – visit GradRight and create your free profile with your academic and personal information.
– Algorithmic Matching – the AI-driven algorithm matches you with the best-suited universities and programs based on your profile.
– Compare Universities – use detailed criteria like alumni networks, recent placements, and faculty quality to compare your shortlist.
– Expert Assistance – get help from an expert advisor at any stage of your application process.
– Build Your Network – connect with peers, alumni, and faculty from your shortlisted universities to get your questions answered.
Common Questions When Completing the DS-160 Form
- What is the application fee for the DS-160 form?
There’s no fee specifically for the DS-160 form itself – it’s completely free to fill out. The visa you’re applying for has its own separate application (MRV) fee, which you’ll need to budget for separately.
- The DS-160 form needs a signature. How do I sign it?
Click the ‘Sign Application’ button at the end of the form. This certifies that you’ve read and understood the questions and that your answers are true and correct to the best of your knowledge. You can’t submit without this step, and there’s no need or provision to upload an image of a handwritten signature.
- I finished my DS-160 form but forgot to print the confirmation page. What should I do?
You can re-access it. Go to the CEAC website and log in with the details you created. Answer your security question if prompted, select the Embassy or Consulate where you applied, click “Option C: Retrieve Application,” and enter your application number. If all details are correct, your confirmation page will display and you can print it.
- What if I can’t make it to the interview at the Embassy or Consulate I selected in my DS-160 form?
If you plan to interview at a different location than you originally selected, follow that specific embassy or consulate’s instructions, since practices vary. Depending on your circumstances, you may need to update your selected location or submit a new DS-160 – don’t assume automatic access without checking the destination consulate’s guidance first.
- Can I answer in my native language(s)?
No – the DS-160 form must be completed in English, using English characters only. The one exception is your given, middle, and last name, which can include native characters. Regardless, your name must match exactly what’s on your passport, and on your I-20 or I-129 where applicable.
Related Articles
New F1 Visa Rules for USA: All You Need To Know
Student Visa for USA for Indian Students in 2026
Requirements for F1 USA Study Visa: A Complete Guide
What Does OPT Student Mean? Optional Practical Training Explained
OPT vs CPT: What Are They and How Do They Work for International Students?
Get Your University and Visa Journey Sorted Together
GradRight’s AI-powered platform can help you shortlist universities and get expert guidance through your application and visa journey, free of cost. Start your free profile at gradright.com/selection/.


 Australia
  Canada
  France
  Germany
  India
India  Ireland
  UAE
UAE  United Kingdom
  United States