




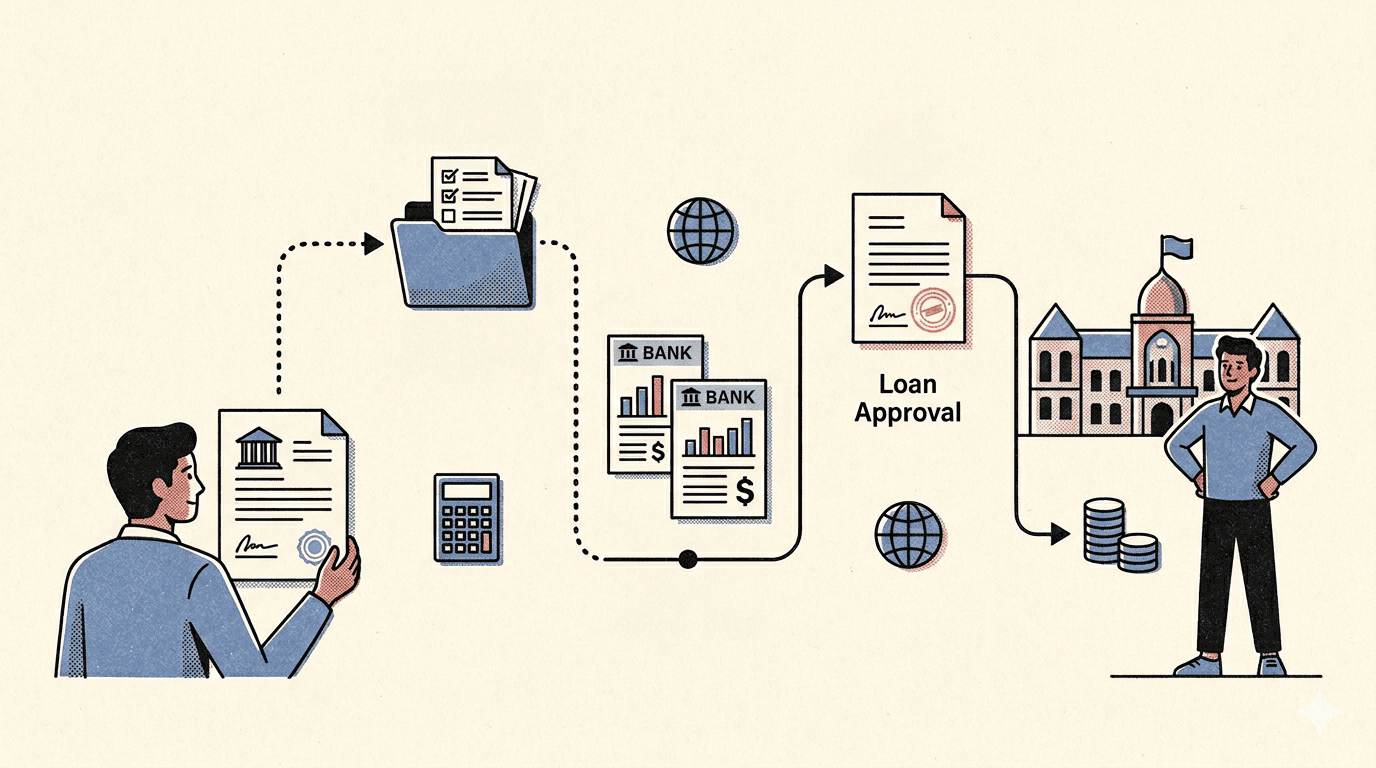
Getting an education loan for study abroad is not complicated. However, it is a process with a specific sequence, and students who skip steps or start too late consistently run into problems, delayed disbursements, rejected applications, or loans sanctioned after university payment deadlines have already passed.
The typical timeline from starting loan research to receiving the first disbursement runs between 30 and 60 days for secured loans and 15 to 30 days for unsecured NBFC loans. Most universities require tuition payment within 30 days of accepting an offer. Consequently, students who wait until an offer letter arrives to begin the loan process are already operating on a tight timeline.
This guide walks through every step of the education loan process in the correct order, covers the documents you need, explains what lenders actually evaluate, and tells you where most students make avoidable mistakes.
Before you start: understand what education loans for study abroad actually cover
Most top student loan providers now cover 100% of your expenses, including tuition, travel, and living costs. However, each lender has its own list of covered expenses, and understanding this before applying prevents unpleasant surprises after sanction.
A study abroad education loan from Indian lenders typically covers the following:
| Expense Category | Covered by Most Lenders | Notes |
| Tuition fees | Yes | Disbursed directly to the university |
| Living and accommodation | Yes | Usually disbursed to the student in tranches |
| Travel costs (to and from) | Yes at most lenders | One return airfare covered typically |
| Health insurance | Yes | Mandatory at US universities; covered by most lenders |
| Exam fees (GRE, GMAT, TOEFL, IELTS) | Sometimes | Varies by lender |
| Laptop and study materials | Sometimes | Usually up to a specified limit |
| Visa fees | Sometimes | Confirm with specific lender |
| Living expenses during moratorium | No | Students must fund this separately |
The living expenses gap during the moratorium period is one that students frequently overlook. The loan covers living costs during the study period, but lenders do not advance funds to cover personal expenses during the job-search period after graduation. Students who plan their finances assuming the loan will cover everything through employment are setting themselves up for a cash-flow problem.
Step 1: Calculate your total loan requirement accurately
The first step most guides suggest is to shortlist lenders. That is incorrect. The actual first step is calculating how much you need with precision, because the loan amount drives every subsequent decision including which lenders to approach, whether collateral is required, and what your EMI and total repayment look like.
Calculate your total requirement as follows:
| Component | How to Estimate It |
| Tuition | Use the exact figure from the university offer letter or official fee schedule |
| Living costs | Use the university’s own cost of attendance estimate for international students |
| Health insurance | Check whether the university requires enrollment in its plan or permits a waiver |
| Travel | One return airfare, economy class |
| Visa and document fees | Application fee, biometrics, courier charges — usually ₹25,000 to ₹50,000 total |
| Initial setup costs | Security deposit, bedding, local transport on arrival — estimate ₹50,000 to ₹1 lakh |
| Buffer | Add 5 to 10% buffer for currency fluctuation over a two-year degree |
Most students underestimate total cost by 20 to 30% because they start with tuition and add rough estimates for everything else. A student targeting a two-year US master’s with tuition of ₹35 lakh often ends up needing ₹65 to ₹75 lakh once living, insurance, travel, and setup costs are added at the actual rupee-dollar rate.
Furthermore, the rupee currently trades at approximately ₹92 to the dollar. Currency movement between application and disbursement can meaningfully shift the rupee value of your dollar-denominated expenses. Building a buffer into your loan amount prevents the need to go back to the lender mid-program for a top-up.
Step 2: Check eligibility before approaching any lender
Lenders evaluate education loan applications on five core dimensions. Checking your standing on each dimension before applying helps you identify which lenders to approach and what, if anything, you should address before submitting.
Student Eligibility
Students must be Indian citizens and must have secured admission to a recognized institution abroad. Most lenders also require the student to have completed 10+2 and a bachelor’s degree, though some lenders consider students applying for pre-admission loans if they have a conditional offer.
A GPA of 7.5 and above on a 10-point scale typically signals a strong academic profile to lenders. Scores below 6.5 trigger additional scrutiny, particularly from NBFCs. University ranking matters significantly, most NBFCs tier their maximum unsecured loan limits by the QS ranking of the institution.
Co-Applicant Eligibility
The co-applicant is typically a parent or spouse. Most lenders require the co-applicant to be an Indian resident, have a stable income, and carry a CIBIL score of 700 or above. Scores above 750 unlock better rates and higher unsecured limits.
Importantly, the co-applicant’s monthly income should comfortably cover the projected EMI once repayment begins. Most lenders use a fixed obligation to income ratio of around 50 to 60% — meaning the co-applicant’s total EMI obligations after adding the new education loan EMI should not exceed 50 to 60% of their take-home income.
Collateral Eligibility
Loans above ₹7.5 lakh from public sector banks typically require collateral — usually residential or commercial property, a fixed deposit, or a life insurance surrender value. NBFCs offer unsecured loans up to ₹75 lakh for strong profiles without any property pledge. If you have collateral available, offering it voluntarily even on an NBFC application can reduce your rate by 1 to 2%.
Step 3: Gather your documents before approaching any lender
Document collection is the step that creates the most delays because students start gathering documents only after approaching a lender. Starting this process in parallel with lender research saves one to two weeks.
Documents the Student Needs
| Document | Purpose |
| Passport (valid) | Identity and travel proof |
| PAN Card | Identity proof and tax linkage |
| Aadhaar Card | Identity and address proof |
| 10th and 12th marksheets and certificates | Academic history |
| Bachelor’s degree marksheets (all semesters) | Academic qualification |
| GRE, GMAT, TOEFL, or IELTS scorecard | Admission eligibility proof |
| University admission letter | Primary loan trigger document |
| University fee schedule | Loan amount justification |
| Course brochure or program details | Lender evaluation of program quality |
| Gap certificate (if applicable) | Self-declaration explaining any academic break |
| Scholarship letter (if applicable) | Reduces effective loan amount |
Documents the Co-Applicant Needs
| Document | Purpose |
| PAN Card and Aadhaar | Identity proof |
| Passport size photographs (2) | Application requirement |
| Last 3 months salary slips | Income verification for salaried co-applicants |
| Last 2 years ITR with Form 16 | Tax and income history |
| Last 6 to 8 months bank statements | Cash flow and repayment capacity |
| Employment certificate or appointment letter | Employment stability |
| Business proof and P&L account (if self-employed) | Income verification for business owners |
| Asset-liability statement | Required for loans above ₹7.5 lakh |
Additional Documents for Secured Loans
If you are pledging collateral, the lender also requires property documents including the title deed, property tax receipts, property valuation report from an approved valuer, and encumbrance certificate. Gathering property documents typically takes one to two weeks if the family has not already organized them.
Step 4: Research lenders and compare offers simultaneously, not sequentially
This is the step where most students make the most costly mistake. They approach one lender, wait two to three weeks for a decision, discover the rate or amount does not suit them, and then approach the next lender. The entire sequential process can take two to three months and frequently results in accepting a suboptimal offer simply because the university payment deadline has arrived.
The correct approach is to apply to multiple lenders simultaneously and use competing offers as negotiation leverage.
For public sector banks, visit the PM Vidyalakshmi portal at pmvidyalaxmi.co.in, which provides access to multiple government bank schemes through a single application. For NBFCs, GradRight‘s loan marketplace sends your profile to 18 plus lenders simultaneously, generating competing offers in 20 minutes rather than requiring separate applications at each institution.
When comparing offers, evaluate the following in this order:
| What to Compare | Why It Matters | Common Mistake |
| Total repayment over full tenure | Shows true cost of the loan | Comparing only EMI |
| Interest rate type (floating vs fixed) | Floating rates benefit in RBI cut cycles | Assuming all rates are comparable |
| Moratorium period structure | Longer moratorium means more interest capitalized | Ignoring moratorium interest accumulation |
| Processing fee | Some lenders charge 0.5 to 2% of loan amount upfront | Forgetting to add this to effective cost |
| Prepayment penalty | Some lenders charge for early repayment | Not checking before accepting |
| Disbursement timeline | Critical if university payment deadline is close | Not confirming this before accepting |
Lenders with discretionary power can sometimes provide 0.25 to 0.75% rate discounts for strong profiles. Therefore, always ask each lender explicitly whether your profile qualifies for a rate reduction before accepting any offer. Female student concessions of 0.50% apply at most public sector banks but require explicit request. Premier institution concessions of 0.50 to 1% apply at SBI, Bank of Baroda, and Canara Bank for students admitted to top-ranked universities.
Step 5: Submit the formal application with complete documentation
Once you have identified the lender or lenders you want to proceed with, submit the formal application with the complete document set. Incomplete applications trigger requests for additional documents, which add one to two weeks per round of back-and-forth.
Most NBFCs now accept digital document submission through their portals or apps. Public sector bank applications still typically require in-branch submission for the initial sanction letter, though some have introduced online pre-application workflows.
After submission, the lender’s process follows this sequence:
| Stage | What Happens | Typical Duration |
| Document verification | Lender verifies all submitted documents for completeness and authenticity | 2 to 5 working days |
| Credit assessment | CIBIL check on co-applicant; income verification; program evaluation | 3 to 7 working days |
| Property valuation (secured only) | Approved valuer visits and assesses pledged property | 5 to 10 working days |
| Sanction letter issuance | Lender issues formal sanction letter specifying approved amount, rate, and terms | 1 to 2 working days after assessment |
| Acceptance and agreement signing | Student and co-applicant sign the loan agreement | 1 to 3 working days |
| First disbursement | Lender transfers first tranche directly to the university | 3 to 7 working days after agreement |
For unsecured NBFC loans at strong profiles, the total time from complete application submission to first disbursement typically runs 10 to 15 working days. For secured public sector bank loans, the process typically runs 25 to 40 working days due to property valuation requirements.
Step 6: Understand the sanction letter before signing anything
The sanction letter is the most important document in the loan process, and most students sign it without reading it carefully. The sanction letter specifies every term the student agrees to, and changing those terms after signing is difficult.
Check the following items in the sanction letter explicitly before signing:
| Item to Check | What to Look For |
| Sanctioned amount | Does it match your total requirement including all expense categories? |
| Interest rate | Is it the rate discussed, and is it floating or fixed? |
| Moratorium period | Is it course duration plus the post-graduation period you expected? |
| Repayment tenure | Is it 10 or 15 years as discussed? |
| Processing fee | Is it consistent with what was quoted? |
| Prepayment clause | Does prepayment attract a penalty? |
| Disbursement schedule | Does the tranche schedule align with university payment dates? |
| Insurance requirement | Is there a mandatory insurance product linked to the loan? |
If any term in the sanction letter differs from what was verbally discussed, raise it in writing before signing. Most lenders will clarify or correct administrative errors at this stage. Corrections after signing require formal amendments that take additional time.
Step 7: Manage disbursements across the loan tenure
Most education loans disburse in tranches aligned with university semester fee schedules rather than as a single lump sum. The first tranche typically covers the first semester’s tuition and is transferred directly to the university. Subsequent tranches release upon confirmation of continued enrollment and academic progression.
Students need to manage a few practical details during the disbursement phase:
First, confirm with the lender well in advance of each disbursement that the required documentation for that tranche is ready. Most lenders require proof of continued enrollment and fee invoices before releasing subsequent tranches.
Second, track the currency conversion on each disbursement. Lenders disburse in Indian rupees and students or universities convert to the destination currency. The rate at disbursement may differ from the rate used during loan planning. Using a forex service like Niyo Global for recurring transfers can reduce conversion costs compared to using the disbursing bank’s standard rate.
Third, file for Section 80E tax deduction from the first year of repayment. The full interest paid on an education loan is deductible from taxable income for up to 8 years. This deduction is only available under the Old Tax Regime. Students who return to India and default to the New Tax Regime forfeit this benefit entirely. Modeling this deduction before choosing a tax regime can save ₹8 to ₹18 lakh over the deduction period for borrowers in the 20 to 30% tax bracket.
Common mistakes to avoid at each stage
| Stage | Common Mistake | How to Avoid It |
| Loan calculation | Using tuition-only figures | Calculate total cost of attendance including living, insurance, travel |
| Timing | Starting the loan process after receiving the offer letter | Begin lender research during university shortlisting |
| Lender approach | Approaching lenders sequentially | Apply to multiple lenders simultaneously |
| Document preparation | Waiting for the lender to request documents | Gather all documents before the first application |
| Sanction letter | Signing without reading all terms | Check all 8 items listed in Step 6 explicitly |
| Disbursement | Missing tranche documentation deadlines | Set calendar reminders 3 weeks before each disbursement |
| Tax planning | Defaulting to New Tax Regime without modeling 80E | Model both regimes before filing the first return |
The bottom line
Getting an education loan for study abroad involves more preparation than most students expect, but every step is manageable with the right sequence. The students who navigate it most smoothly start early, calculate their requirement accurately, apply to multiple lenders simultaneously, read the sanction letter carefully, and plan their tax deductions before filing rather than after.
The single most costly mistake in the process is sequential lender comparison. Approaching one bank at a time costs weeks and typically results in accepting an offer based on timing pressure rather than financial merit.
GradRight’s loan marketplace sends your profile to 18 plus lenders simultaneously, generating competing offers in 20 minutes. You compare them side by side, including total repayment at each rate, before accepting anything. Start with a free GradRight profile to see what loan offers your specific profile actually qualifies for before you walk into any bank branch.









 Australia
  Canada
  France
  Germany
  India
India  Ireland
  UAE
UAE  United Kingdom
  United States